How to Fix Wi-Fi When It Stops Working
Dealing with a dropped internet connection can grind your daily workflow and entertainment to an immediate halt. Knowing how to fix Wi-Fi issues quickly helps you diagnose whether the fault lies with your device, your router, or your internet service provider.
Restart Your Router and Modem
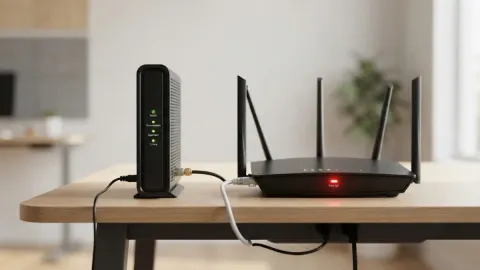
When your wireless network drops out completely, the very first step you should take is a physical power cycle of your networking hardware. Network routers and modems are essentially small computers running specialized firmware that can experience memory leaks, overheating, or software freezes over prolonged periods of continuous operation. Unplugging them clears temporary cache and forces the hardware to re-establish a fresh handshake with your internet service provider.
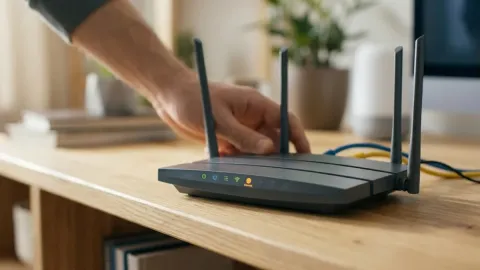
To perform a proper power cycle, unplug the power cables from both your modem and your router. Wait for at least 30 seconds to allow all internal capacitors to drain completely and residual electrical charge to dissipate. Plug the modem back in first and wait a minute or two until all of its status indicator lights stabilize, showing a solid connection. Next, plug your router back in and give it another two minutes to boot up fully and broadcast its wireless signal before testing your connection again.
Check Wi-Fi Connection on Other Devices
Before you spend hours tinkering with advanced network settings on your primary laptop or smartphone, you need to determine whether the issue is isolated to a single device or affecting your entire household. Grab another phone, tablet, or computer and see if it can successfully load websites over the same wireless network. If other devices are working fine, your router and internet connection are completely healthy, meaning the problem lies entirely within the software or network configuration of your first device.
If all devices in your home are unable to access the internet or connect to the wireless signal, the bottleneck is definitely your modem, your router, or a broader service outage originating from your internet service provider. In this scenario, checking your provider's status page or calling their customer support line will help you confirm whether an area-wide maintenance or fiber cut is to blame. Isolating the scope of the problem prevents wasted effort and guides you directly toward the correct resolution path.
Forget and Reconnect to the Network
Corrupted network profiles and outdated authentication keys are frequent culprits behind sudden connection drops or endless authentication loops. When your operating system stores old security certificates or incorrect password hashes, it fails to authenticate properly with your router. Fixing this requires clearing out the corrupted data by forcing your device to completely forget the existing wireless profile, which effectively wipes the slate clean for a fresh connection attempt.
On Windows, go to Settings > Network & internet > Wi-Fi > Manage known networks, select your network, and click Forget. On macOS, navigate to System Settings > Wi-Fi, click Details next to your network, and select Forget This Network. On mobile devices, tap and hold the network name in your Wi-Fi settings menu and choose Forget or Delete. Once forgotten, scan for available networks, select yours, and re-enter your Wi-Fi password carefully.
Update Network Adapter Drivers
Outdated or corrupted network interface card drivers are a major source of intermittent connectivity and slow wireless speeds on desktop computers and laptops. Hardware manufacturers frequently release software updates to patch bugs, improve power management, and enhance compatibility with modern security protocols like WPA3. If your network card is running on ancient driver software, it may struggle to maintain a stable connection with newer dual-band or tri-band routers.
To update your drivers on Windows, right-click the Start button and select Device Manager. Expand the Network adapters category, locate your wireless network card, right-click it, and select Update driver. Choose the option to search automatically for updated driver software. If Windows cannot find a newer version, visit the official support website of your laptop or motherboard manufacturer to download and install the latest certified driver package for your specific hardware model.
Run the Built-In Network Troubleshooter
Modern operating systems include powerful automated diagnostic tools designed to scan your system configuration, detect common networking faults, and apply automatic fixes without requiring deep technical knowledge. These built-in utilities check IP address assignments, DNS cache integrity, gateway connectivity, and physical adapter status in a matter of seconds, saving you from manually inspecting dozens of individual settings.
On Windows, open Settings > System > Troubleshoot > Other troubleshooters, and click Run next to Network and Adapter or Internet Connections. On macOS, you can hold down the Option key and click the Wi-Fi icon in the menu bar, then select Open Wireless Diagnostics to run an automated sweep of your wireless environment. Follow any on-screen recommendations provided by the diagnostic utility to resolve lingering software conflicts.
Change DNS Server Settings
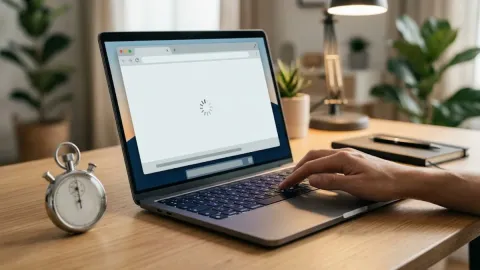
Domain Name System servers translate human-readable website addresses into numerical IP addresses that computers use to communicate. If your internet service provider's default DNS servers are experiencing congestion or routing failures, your browser may display errors indicating that web pages cannot be found, even though your wireless connection icon shows full signal strength. Switching to a fast, reliable public DNS provider can instantly restore stable browsing performance.
You can easily switch your DNS servers through your operating system settings. On Windows, navigate to Control Panel > Network and Sharing Center > Change adapter settings, right-click your active connection, and choose Properties. Select Internet Protocol Version 4 (TCP/IPv4), click Properties, and select Use the following DNS server addresses. Enter trusted public DNS addresses such as Cloudflare (1.1.1.1 and 1.0.0.1) or Google (8.8.8.8 and 8.8.4.4), then click OK to save your changes.
Reset Network Settings to Factory Defaults
When persistent connection drops and configuration errors refuse to go away despite trying every individual fix, performing a complete network reset is your ultimate safety net. This process wipes all customized network adapters, VPN configurations, virtual switches, and saved Wi-Fi profiles, returning your operating system's networking stack to its pristine factory-default condition.
To reset your network on Windows, go to Settings > Network & internet > Advanced network settings > Network reset, and click Reset now. Keep in mind that your computer will need to restart, and you will have to re-enter your Wi-Fi passwords and reconfigure any custom VPN software afterward. On mobile devices, navigate to your system reset menu and select Reset network settings to achieve the exact same deep-clean effect.
The bottom line
Fixing Wi-Fi issues comes down to a systematic approach of isolating the problem between your device and your router. By following these practical troubleshooting steps, you can quickly restore stable internet access and prevent future connection headaches.
Frequently asked questions
Why does my Wi-Fi show connected but have no internet access?
This usually happens when your device is successfully communicating with your router, but the router itself cannot reach the internet due to modem issues or ISP outages. Restarting your modem and router typically resolves this problem.
How often should I restart my router?
You do not need to restart your router daily, but power cycling it once a month helps clear accumulated cache, prevent memory leaks, and maintain optimal wireless speeds.
Does changing my DNS server speed up my internet?
Changing to a faster public DNS provider like Cloudflare or Google can reduce website load times by speeding up address resolution, though it will not increase your maximum raw internet bandwidth.
Why does my Wi-Fi keep disconnecting randomly?
Random disconnections are often caused by wireless interference from neighboring networks, outdated network adapter drivers, physical distance from the router, or power-saving settings turning off your wireless card.
Should I use the 2.4 GHz or 5 GHz frequency band?
Use the 5 GHz band for faster speeds and shorter range when you are close to the router. Use the 2.4 GHz band if you need better signal penetration through walls and longer range across your home.