How to Troubleshoot Mesh Wi-Fi

Whether you are dealing with a rogue satellite node, interference from household appliances, or outdated firmware, a systematic troubleshooting approach helps you pinpoint and resolve the issue. Follow this step-by-step guide to diagnose and fix common mesh Wi-Fi problems effectively.
Restart Your Main Router and Satellites
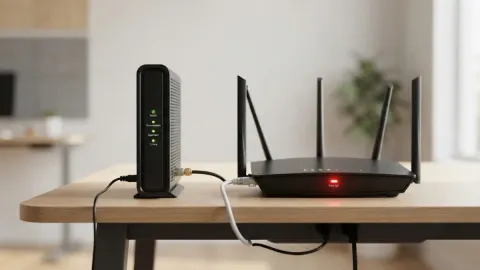
When your mesh Wi-Fi network starts acting up, the very first step you should take is a complete power cycle of the entire system. Network hardware can occasionally experience memory leaks, overheating, or temporary glitches that freeze packet forwarding between the main router and satellite nodes. Unplug the power cable from your primary router and every satellite node in your home. Wait for at least 60 seconds to allow all internal capacitors to drain completely and clear any cached routing tables.
Once the minute has passed, plug in your main router first and wait for it to boot up fully, typically indicated by a solid white or green LED light. Only after the main router has established a stable internet connection should you plug in your satellite nodes one by one, starting with the node closest to the primary unit. This sequential boot process ensures that nodes can properly handshake with the main router and rebuild the mesh topology without timing out.
Check for Physical Obstructions and Interference
Mesh systems rely heavily on unobstructed wireless communication between nodes, especially if they are using wireless backhaul rather than a dedicated wired ethernet connection. Thick concrete walls, reinforced steel beams, large mirrors, and dense brick masonry can severely degrade the 5GHz or 6GHz signals passing between your nodes. If a satellite node is placed behind a large appliance like a refrigerator or inside a metal media cabinet, its ability to maintain a strong backhaul connection will plummet, resulting in frequent dropouts and slow speeds for connected devices.
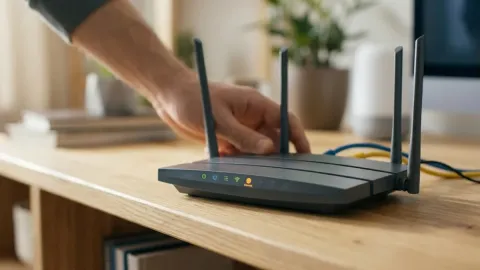
To fix this, inspect the physical environment around your problem nodes and reposition them into open spaces. Avoid placing nodes near heavy electronic interference sources such as microwave ovens, cordless phone bases, or Bluetooth hubs, which operate on similar radio frequencies. Ensuring a clear line of sight or at least minimizing dense material barriers between nodes will drastically improve overall network stability and throughput across your entire home.
Analyze Node Placement and Signal Strength
Improper node placement is one of the most common reasons mesh networks underperform or fail completely. Many users make the mistake of placing satellite nodes in dead zones where they actually want coverage, forgetting that the node itself must first receive a strong signal from the main router or another node. If a node is placed too far away, its backhaul connection becomes weak, causing the node to constantly drop packets or disconnect entirely.
Open your mesh system companion app, such as the TP-Link Deco or Google Home app, and check the signal rating for each satellite node. If a node shows poor or fair backhaul status, you need to move it closer to the main router or introduce an intermediate node to act as a relay point. A good rule of thumb is to place satellite nodes no more than one or two rooms away from the primary router, ensuring overlapping coverage bubbles without stretching the wireless link to its absolute limit.
Update Firmware via the Companion App
Running outdated firmware on your mesh router system can lead to persistent bugs, security vulnerabilities, and sudden connectivity drops. Manufacturers frequently release software updates that patch routing bugs, improve backhaul stability, and optimize device handoffs as you move around your home. If your mesh network is randomly rebooting or dropping client devices, an outdated firmware version is a prime suspect that needs immediate attention.
Launch your system's official mobile app, navigate to Settings > System > Firmware Update, and check for any pending updates. Ensure your phone is connected to the network and follow the on-screen prompts to install the latest software. Note that your network will briefly go offline while the routers reboot to apply the update, so it is best to perform this maintenance during a time when heavy internet usage is not required.
Reset and Re-pair Problematic Satellite Nodes
If a specific satellite node continues to malfunction despite restarts, firmware updates, and repositioning, its internal configuration file may have become corrupted. In such cases, a simple soft reboot will not be enough, and you will need to perform a hard factory reset on that specific node to clear out bad settings and start fresh.
Locate the small recessed reset button on the back or bottom of the malfunctioning satellite node. Using a paperclip or a SIM ejector tool, press and hold the button for about 10 to 15 seconds until the status light begins flashing red, yellow, or pulsing white, indicating it is resetting. Once the node returns to its setup state, open your companion app, tap the option to add a new device, and follow the guided prompts to re-pair the node to your existing mesh network from scratch.
Change Wireless Channels and Band Settings
In densely populated neighborhoods, neighboring Wi-Fi networks can broadcast on the exact same wireless channels as your mesh system, causing heavy channel congestion and packet loss. While most modern mesh systems feature automated channel selection, interference from surrounding routers can sometimes trick the system into selecting a congested frequency. Adjusting your wireless settings can provide immediate relief from erratic speeds.
Open your router management portal or mobile app, go to Advanced Settings > Wi-Fi Settings, and look for channel width or channel selection options. If available, switch from automated selection to a less congested manual channel, especially on the 2.4GHz band where interference from microwaves and Bluetooth is rampant. Additionally, check if your system supports band steering and ensure it is enabled so that capable devices automatically transition to the faster 5GHz or 6GHz bands instead of clogging the slower 2.4GHz spectrum.
The bottom line
Troubleshooting a mesh Wi-Fi network is usually a matter of eliminating interference, adjusting node placement, and keeping your firmware up to date. By systematically working through power cycles, app diagnostics, and factory resets, you can restore full-home coverage and enjoy reliable, high-speed internet across all your connected devices.
Frequently asked questions
Why is my mesh Wi-Fi node blinking red or yellow?
A blinking red or yellow light typically indicates that the satellite node has lost its connection to the main router or is experiencing a hardware error. Try moving the node closer to the primary router or restarting both units.
How far apart should mesh Wi-Fi routers be placed?
Satellite nodes should generally be placed no more than one to two rooms apart. They need to be close enough to maintain a strong wireless backhaul signal while still expanding your overall coverage area.
Should I use wireless or wired backhaul for mesh Wi-Fi?
If your home has ethernet wall ports available, using a wired ethernet backhaul is always better because it eliminates wireless interference and delivers maximum gigabit speeds between nodes.
Do I need to factory reset all nodes when troubleshooting?
No. You should always start by restarting the entire system. Only perform a factory reset on individual satellite nodes that refuse to connect or continue to experience persistent errors.