How to Screenshot on Windows 11
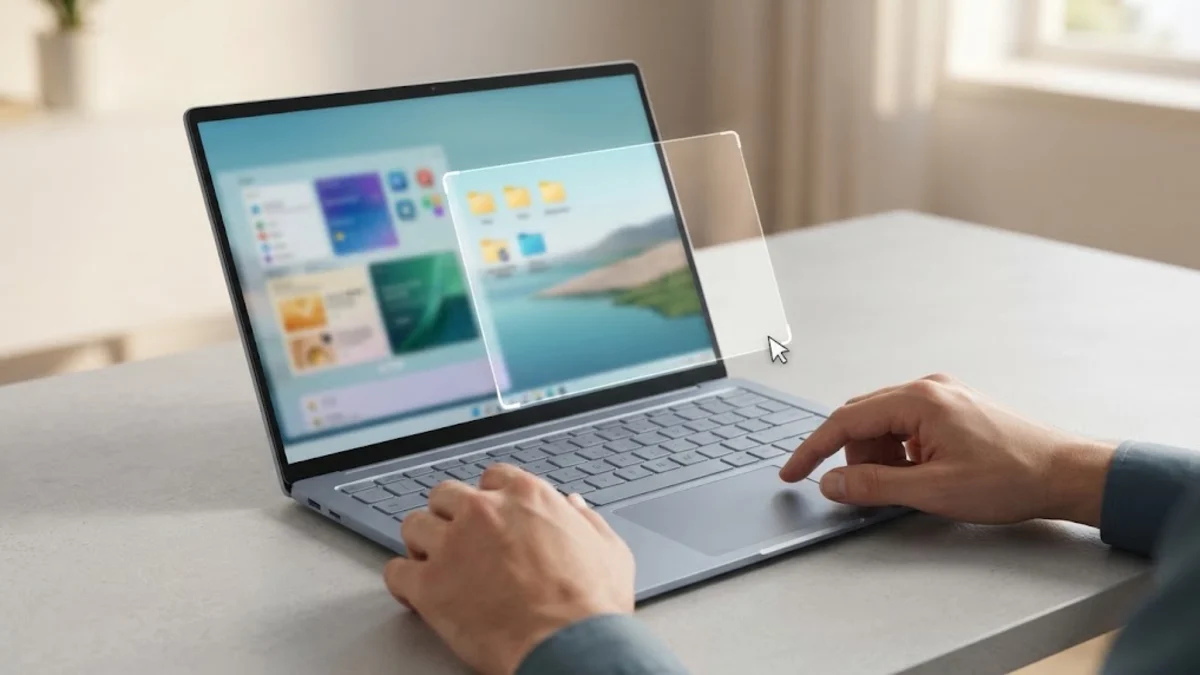
Taking a screenshot on Windows 11 is fast and versatile, offering built-in options that range from instant whole-screen captures to targeted rectangular snips, delay timers, and native optical character recognition (OCR). Whether you need to save an online transaction receipt, capture an error code for troubleshooting, or share an image snippet on Slack, you do not need to install third-party software.
Windows 11 includes updated tools and streamlined shortcut integrations that make screen capturing significantly more powerful than in previous releases. This step-by-step walkthrough covers the quickest keyboard commands, how to configure your hardware buttons, where your image files are stored, and how to resolve common capture problems.
The Quickest Way: Snipping Tool Shortcut (Win + Shift + S)
The fastest and most flexible way to take a capture on Windows 11 is the global keyboard shortcut Win + Shift + S. Pressing these three keys together dims your screen immediately and displays a small overlay bar with four capture modes centered at the top of your display.
To capture your screen using this method, select one of the following modes from the top bar:
- Rectangle Snip: Drag a crosshair over the precise rectangular area you wish to copy.
- Freeform Snip: Draw an irregular shape around any visual element you want to outline.
- Window Snip: Hover over an open application window and left-click to capture that single window without capturing the taskbar or background clutter.
- Full-screen Snip: Instantly capture everything displayed across all connected monitors.
Once you make your selection, the captured image copies automatically to your clipboard. A notification banner pops up in the bottom-right corner of your screen. If you only need to paste the image into an email, document, or chat app, simply press Ctrl + V. If you want to annotate, crop, or highlight the capture, click the pop-up notification to open the image directly in the Windows 11 Snipping Tool.
Using the Dedicated Print Screen (PrtScn) Key
In modern Windows 11 installations, pressing the physical PrtScn (Print Screen) key on your keyboard automatically opens the same Snipping Tool overlay bar as Win + Shift + S. This eliminates the need to remember multi-key combinations when capturing elements quickly during daily work.
If pressing PrtScn does not launch the snip overlay, or if you prefer the classic behavior where the key silently copies the entire display to your clipboard without opening an overlay, you can adjust this behavior in Windows settings:
- Open the Start menu and select Settings (or press Win + I).
- Navigate to Accessibility > Keyboard.
- Scroll down to the On-screen keyboard, access keys, and Print screen section.
- Locate the toggle labeled Use the Print screen key to open screen capture and switch it to On or Off according to your preference.
If you keep the toggle turned off, tapping PrtScn copies your entire monitor array to the system clipboard in the background, ready to paste into image editors like Paint or messaging tools.
Saving Screenshots Directly to Disk (Win + PrtScn)
If you are taking multiple captures in rapid succession and do not want to stop and paste each one manually into an image editor, use the combination Win + PrtScn. When you press these keys simultaneously, your display dims briefly for a fraction of a second, confirming that the full screen has been saved directly as a file to your local drive.
Windows saves these automatic image files as PNG documents in a dedicated system folder. To access them:
- Open File Explorer by clicking its taskbar icon or pressing Win + E.
- In the left navigation sidebar, select Pictures.
- Open the Screenshots subfolder.
Windows sequentially names these files Screenshot (1).png, Screenshot (2).png, and so on. If you work with multiple monitors, this command captures the entire desktop canvas across every active screen into a single wide image file. If you only want to save the currently focused app window directly to the clipboard, press Alt + PrtScn instead.
Advanced Captures and OCR with the Snipping Tool App
The standalone Snipping Tool application in Windows 11 offers several productivity features that simple keyboard shortcuts cannot handle alone, including capture delays, video screen recording, and automated optical character recognition (Text Actions). To launch the full app, open your Start menu, type Snipping Tool, and press Enter.
One of the most useful features is the delayed capture timer. When capturing fleeting interface elements like right-click context menus, hover tooltips, or expanding dropdown lists, triggering a shortcut normally causes the menu to collapse. In the Snipping Tool interface, click the Snip delay timer button (indicated by a clock icon) and choose 3 seconds, 5 seconds, or 10 seconds. Click New, open the temporary menu on your screen, and wait for the overlay to freeze the interface automatically.
Windows 11 also incorporates Text Actions inside Snipping Tool. After taking a screenshot containing text, click the Text Actions icon in the top toolbar. The tool recognizes written words, allowing you to click Copy all text or highlight individual lines to copy them into your clipboard. You can also use the Quick redact tool to automatically obscure phone numbers and email addresses before sharing sensitive screenshots.
Capturing Full Webpages and Scrolling Content
Standard Windows screenshot shortcuts only capture what is currently visible within the boundaries of your monitor. If you need to capture a lengthy webpage, invoice, or legal document that extends below the bottom edge of your screen, standard tools force you to take multiple images and stitch them together. Fortunately, Microsoft Edge includes a built-in scrolling capture tool that solves this problem.
To capture an entire webpage from top to bottom without downloading third-party extensions:
- Open the page inside Microsoft Edge.
- Press the shortcut Ctrl + Shift + S (or right-click anywhere on the page and select Web capture).
- Click the Capture full page button in the floating panel at the top.
- The browser will automatically scroll the entire page, stitch it together, and present an editing window where you can draw notes, copy the final image, or save it directly as a JPEG file.
For applications outside the browser, such as long chat logs or configuration tables, you can use the built-in screen recorder in Snipping Tool (by switching the camera toggle from Snip to Record) to generate a brief MP4 clip while scrolling manually.
How to Fix Screenshot Shortcuts When They Stop Working
If pressing your screenshot combinations produces no response, the issue is almost always caused by hardware key locks, notification configuration conflicts, or background app corruption. Here is how to diagnose and resolve each scenario step by step.
First, inspect your keyboard hardware. On many laptops (especially models from HP, Lenovo, and Dell), the PrtScn key shares a physical keycap with a function command like brightness or flight mode. If your function lock is engaged, the key may send an alternate command. Press Fn + PrtScn or Fn + Win + PrtScn to see if the action triggers correctly.
Second, check your notification permissions. If your screenshots are working but you never see the preview thumbnail to edit them, Windows may be silencing the alerts. Go to Settings > System > Notifications, ensure Notifications is turned on, and verify that Snipping Tool is permitted to show banners.
Third, reset the Snipping Tool application if it hangs or fails to open:
- Open Settings > Apps > Installed apps.
- Locate Snipping Tool, click the three-dots menu icon, and select Advanced options.
- Scroll down and click Repair. If that does not resolve the issue, click Reset to wipe damaged temporary cache files.
The bottom line
Windows 11 makes screen capture effortless once you understand the native shortcuts. For daily tasks, Win + Shift + S gives you exact control over framing, while Win + PrtScn provides rapid batch saving directly to your Pictures folder. Take advantage of integrated features like delay timers and Text Actions in the Snipping Tool to extract data and capture dynamic interface elements without relying on third-party utilities.
Frequently asked questions
Where are my screenshots saved on Windows 11?
If you use Win + PrtScn, screenshots are saved automatically to C:\Users\[YourUsername]\Pictures\Screenshots. If you use Win + Shift + S or PrtScn, the image is held temporarily in your clipboard until you paste it or manually click the Snipping Tool notification to save it.
Why is my Print Screen key not working on Windows 11?
This commonly happens if the Fn (Function) lock is active on your keyboard, requiring you to press Fn + PrtScn instead. You should also ensure the shortcut is enabled under Settings > Accessibility > Keyboard by toggling on 'Use the Print screen key to open screen capture'.
How do I take a screenshot of only one window on Windows 11?
Click the window to make it active, then press Alt + PrtScn. This copies an image of that active window directly to your clipboard without capturing your taskbar or second monitor.
How do I extract text from a screenshot in Windows 11?
Open the screenshot inside the Snipping Tool and click the 'Text Actions' button on the top toolbar. Windows will analyze the image using OCR, allowing you to highlight text or click 'Copy all text' to paste it into any editor.