How to Fix Zoom Camera Not Working
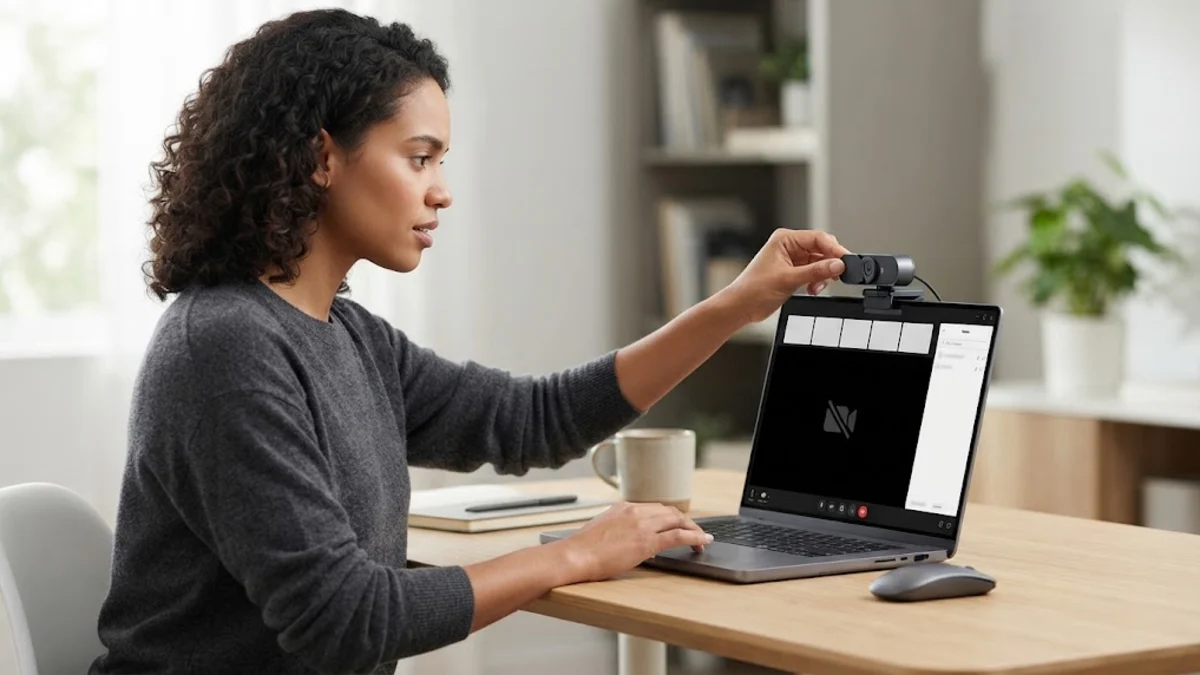
When your Zoom camera is not working, the problem usually stems from an accidental privacy shutter closure, missing operating system permissions, or another application locking your webcam in the background. In most cases, your webcam hardware is completely fine, and a quick adjustment in your system settings or the Zoom app will restore your video feed immediately.
Video failures can disrupt meetings right when you need to present, leaving you with a black screen, a crossed-out camera icon, or an error stating that Zoom cannot connect to your video device. Follow these troubleshooting steps in order, moving from the fastest hardware checks to deeper software configuration fixes.
Why Your Zoom Video Stops Working
A webcam failure during a Zoom meeting usually comes down to access rights or resource conflicts. Operating systems like Windows 11 and macOS enforce strict privacy controls. If an update resets these permissions or if you accidentally denied access when you first installed the app, Zoom cannot capture video even if your hardware works in other programs.
Another frequent cause is hardware interception. Webcams generally support only one active video stream at a time. If a background program such as Microsoft Teams, Slack, OBS Studio, or a web browser is running in the background, it may quietly hold an exclusive lock on your camera sensor. Physical obstructions—including mechanical slide shutters, dedicated keyboard toggle keys, and loose USB-C cables—also account for a surprising number of black-screen complaints.
Inspect Physical Privacy Shutters and Function Keys
Before changing any software configuration, inspect your computer for physical cutoffs. Many modern laptops from Lenovo, HP, Dell, and ASUS feature a tiny mechanical slider directly over the webcam lens. If you see a tiny red, white, or orange dot inside the lens opening, slide the latch aside to uncover the glass.
Some laptops also feature a dedicated electronic privacy key on the keyboard row (often located at F8, F10, or alongside the power button) or a small toggle switch on the side chassis. If pressing this key toggles the camera off at the hardware level, Windows and Zoom will display a blank screen or a camera icon with a diagonal slash. If you use an external USB webcam, unplug it from any USB hub or docking station and plug it directly into a motherboard USB port on your computer to rule out power delivery bottlenecks.
Enable Camera Permissions on Windows and Mac
If your operating system blocks Zoom from accessing your webcam, the app will never receive video data. Verifying and granting these system-level permissions takes less than a minute on both major desktop platforms.
On Windows 11, open your system settings and verify the privacy toggles:
- Press Windows + I to open Settings.
- Navigate to Privacy & security > Camera.
- Ensure Camera access is switched to On.
- Scroll down to Let apps access your camera and ensure the master toggle is active.
- Locate Zoom Workplace (or Let desktop apps access your camera) and confirm the switch is set to On.
On a Mac, follow these steps:
- Click the Apple menu and choose System Settings.
- Select Privacy & Security in the sidebar, then click Camera.
- Look for Zoom Workplace in the application list and toggle the switch to the green active position. If prompted, enter your administrator password or use Touch ID, then restart Zoom to apply the change.
Close Competing Apps and Restart Camera Services
Because webcams rarely broadcast to two programs simultaneously, background software can silently hijack your video stream. If you recently used Google Meet in Chrome, opened Microsoft Teams, or launched a streaming utility like OBS Studio, those apps may keep your webcam active even after you minimize their windows.
To fix this conflict, close every communication and video tool currently running. On Windows, press Ctrl + Shift + Esc to open Task Manager, scan the Processes tab for competing conferencing tools, select them, and click End task. On a Mac, press Command + Option + Esc to bring up Force Quit Applications and close lingering meeting utilities. Once background services are closed, relaunch Zoom and start a test meeting.
Select the Right Camera and Adjust Video Settings in Zoom
If your computer has multiple video inputs—such as an integrated display webcam, an external USB camera, or virtual camera software from tools like Camo or OBS—Zoom might be attempting to stream from an inactive or disconnected source.
Open the Zoom desktop client and verify your device selection:
- Click your profile picture or initials in the top-right corner of Zoom and select Settings.
- Click the Video tab on the left navigation panel.
- Under the Camera drop-down menu, make sure your actual physical webcam is selected rather than a virtual camera or secondary monitor input.
- If the preview window remains dark, click the Advanced button at the bottom of the Video settings screen.
- Locate Video Rendering Method and change it from Auto to Direct3D11 (on Windows) or Metal (on macOS). If hardware acceleration is causing rendering artifacts, uncheck Enable hardware acceleration for video processing.
Reinstall or Update Your Webcam Drivers
Corrupted or outdated camera drivers frequently cause the webcam to freeze or disappear from Zoom's device list after an operating system update. Refreshing the driver forces your system to reinitialize communication with the imaging sensor.
To update or reinstall your webcam driver on Windows:
- Right-click the Start menu icon and select Device Manager.
- Expand the Cameras category (or Imaging devices on older configurations).
- Right-click your webcam name and choose Update driver, then select Search automatically for drivers.
- If Windows reports that the best driver is already installed, right-click the webcam again and select Uninstall device. Leave the checkbox to delete driver software unchecked, then click Uninstall.
- Restart your computer. Windows will automatically detect the hardware and reinstall a clean copy of the camera driver during startup.
On macOS, camera drivers are integrated directly into the operating system kernel. If an internal FaceTime HD or Center Stage camera stops functioning across all apps, navigate to System Settings > General > Software Update and install any pending macOS updates.
The bottom line
Getting your webcam back online in Zoom rarely requires buying new hardware. By systematically checking physical privacy sliders, confirming camera permissions in your operating system, closing conflicting video apps, and selecting the correct device inside Zoom's settings, you can resolve the vast majority of camera failures in minutes. If problems continue only inside Zoom while other camera apps work normally, uninstall Zoom, download the newest build directly from the official website, and perform a clean installation.
Frequently asked questions
Why does my camera show a black screen in Zoom but works in other apps?
This usually indicates that Zoom is configured to use the wrong video rendering engine or a virtual camera source. In Zoom, go to Settings > Video > Advanced, and change the Video Rendering Method from Auto to Direct3D11 or Metal. Also verify that hardware acceleration is not conflicting with your graphics card.
How do I test my Zoom camera before joining a meeting?
Open the Zoom Workplace app, click your profile icon, and open Settings. Click the Video tab to view a real-time preview of your camera feed. You can also visit zoom.us/test in any web browser to join an official test meeting and verify your video and microphone before your real call starts.
Why does Zoom say no camera is detected?
This error means your operating system is either blocking hardware access or failing to recognize the device connection. Check that your webcam permissions are enabled under Privacy settings, reconnect your USB cable directly to the computer, and verify that the camera appears inside Windows Device Manager or Mac System Information.
Can an antivirus program block my Zoom camera?
Yes. Many internet security suites, such as Kaspersky, Bitdefender, Norton, and ESET, include webcam protection features designed to prevent unauthorized spying. Check your antivirus settings to ensure Zoom is listed as an allowed application with full camera privileges.